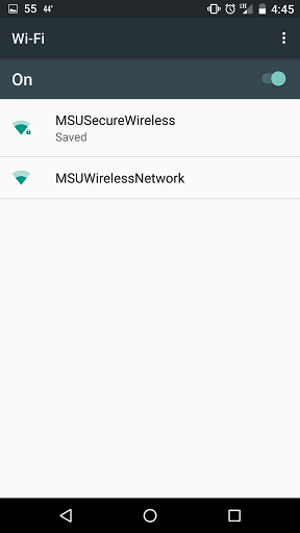
First, open the wireless menu on your phone and select the MSUSecureWireless network.
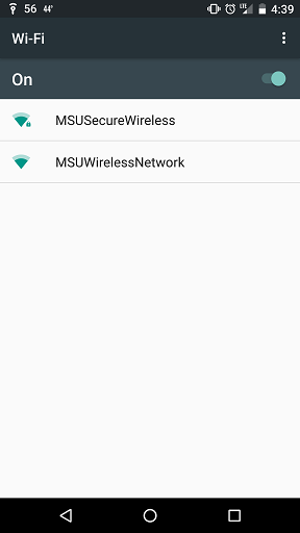
Your screen may look like either of the two below. This is normal. Some phones acknowledge the second protocol and some do not.
If you have issues connecting, see if the "Phase 2 authentication" menu has an option for MSCHAPV2. If so, select that option and try again.
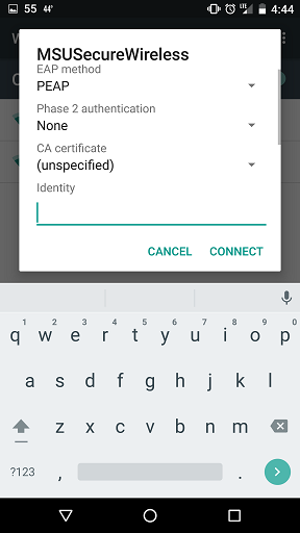
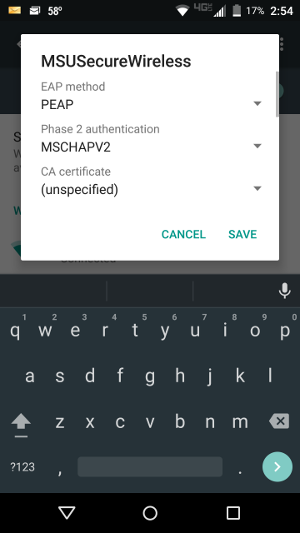
For "identity," enter your username, placing either admin\ or student\ in front of it, depending upon your role.
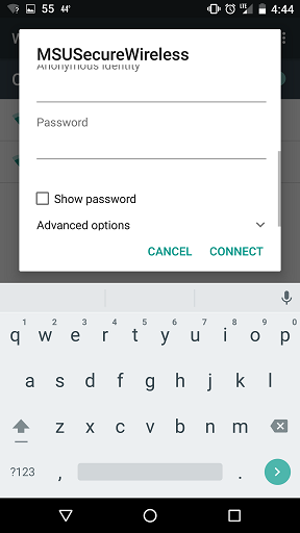
You will now be connected to the secure wireless network.
Student credentials for the wireless network will be the same as those used for the Portal.
Faculty/staff credentials are the same as your network credentials.
Once you have correctly authenticated in the wireless menu, you can now freely browse the internet.